Something like 3 years ago, my sister Alyssa asked for a Bible for Christmas. She was 16 and I thought that was pretty cool, so I told her I would get her one. Now, my sister, who is the best ever and my favorite (I only have one sister, so I can say that), had a little problem of picky-ness in her teen years. Several gift giving seasons in a row my gifts to her were returned. So this time, I sent her pictures and descriptions of Bibles I was sure she would like until we finally found a Bible that she approved of – I ordered it and gave it to her for Christmas. Only to return it shortly thereafter! I remember telling her that when she found a Bible she liked, to let me know and I would get it for her.
Three years later, and I still hadn’t come through on this gift that I owed. But also in three years time my sister has not only grown greatly in this area, but I’ve also grown to know her better. And so my fears of getting (and even more so making) her gifts have since been relieved.
I’ve had this ESV Journaling Bible since I was 18, and I absolutely love it. Being able to scribble along the pages of my Bible has been so rewarding – some of the connections I’ve made to scripture have been so important to my walk with Christ. So, when Alyssa moved out of my parents house last fall, I knew I wanted to fulfill my forgotten gift and give her something that she would hopefully treasure like I have.
Of course, the only Journaling Bible they produce nowadays is all black. So I set out to make this simple Bible beautiful.
Supplies:
- ESV Journaling Bible (found here on Amazon)
- Contact Paper in your color/pattern choice. I found a nice 11×17 sheet for $2.99 at Joann’s Etc.
- An Xacto Knife (still need to get one of these, I used my faithful box cutter)
- Washi Tape for the binding (optional)
Directions:
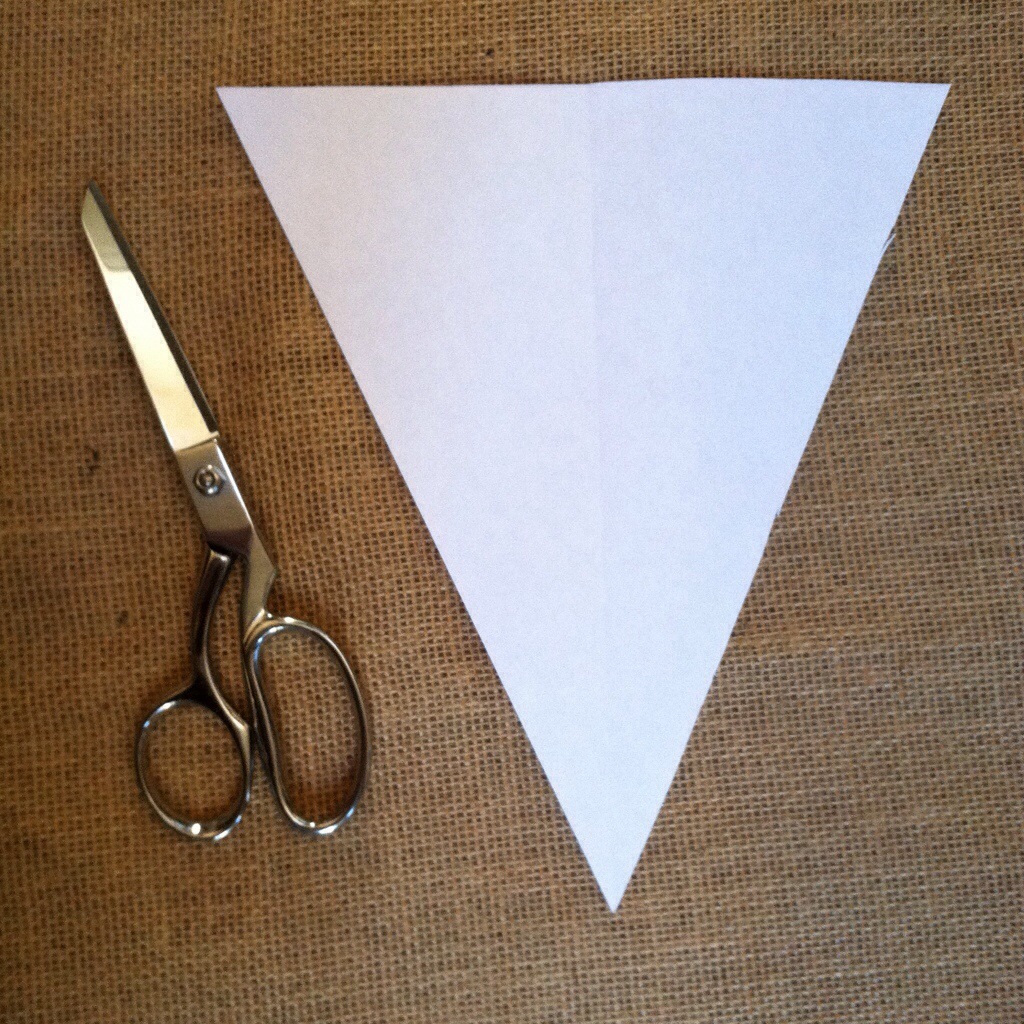
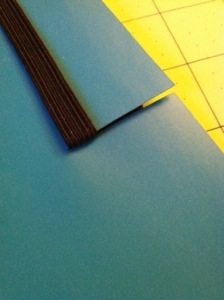
1. Start by cutting the contact paper down to roughly the size of the Bible cover, the sheet I used was already a pretty good match as far as size goes.
2. I found it easier to cut the slits for the elastic band on the back before peeling off the back of the contact paper. I measured the length of the elastic band and made my slits accordingly. I didn’t find it necessary to make the slits any wider than they were with just one stroke of the knife.

3. Slowly peel off the back of the contact paper and start applying it to the back of the Bible. The elastic band proved the be the trickiest part, so I started there and worked from the edge toward the middle and the binding. The contact paper was actually very forgiving and I could pretty easily smooth out the bumps and bubbles as I went.

4. When you get to binding, make sure to gently press the contact paper into the creases so that when you actually use the bible, it can open and close with ease. Be careful not to use your nails or press too hard as the contact paper did start to tear before I realized it!
5. Keep working your way around the Bible until the cover is completely covered with the contact paper with no bumps or bubbles.
6. Then I trimmed a little more off with scissors so I had a nice even edge to fold into the inside. I trimmed the piece that would be folded into the binding even shorter so it wouldn’t stick to the pages. Fold all your edges over an orderly fashion.
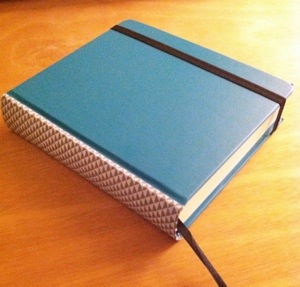
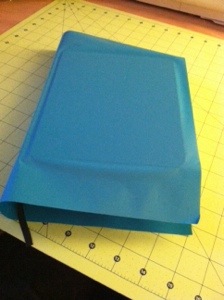
7. Lastly, I put some fun Washi Tape on the binding to add a little something extra since the solid teal color seemed just a smidge too boring.
And here you have it! Recovered ESV Journaling Bible!
Happy crafting!
47.443895
-122.217969